I would like to present the second of three tutorials for how to make your own fabulous digital posters using the online service, PicMonkey.
Today's tutorial is for the Family Established Poster.

Just as a reminder, here's the inspiration.

Step 1.
Go to picmonkey.com and choose Edit a Photo.

Step 2.


Step 2.
Open your background picture.
(If this is you're first time here or you don't remember how, please refer to this post on what I'm talking about and how to do it.)

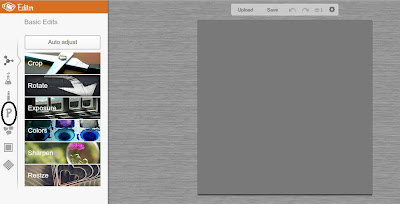
Step 3.
I find it helpful to go ahead and crop the picture at this point if you plan to use a service to print your poster. Otherwise, you may have to crop and cut off letter or the resolution may not be good and so forth and so on. When you go to the left and select the Basic Edits function, Crop will be the first option. When you select Crop, there will be a drop down menu that will more than likely say 'No Fixed Proportions.' Click on this drop down menu and select the size you plan to have it printed as. I will do mine as an 8x10.

The best way to crop you're background and still have room to make you're poster is to align the one of the corners of the crop box with the corner of you're background.

Once you've done that, drag the bottom corner to make the box as large as possible.

Then click apply over on the left.
Step 4.
While you're over on the left, select the Text feature.

Once there, select the font you would like to use, I used Arial Black, and type the first letter of the last name you're doing and click Add.

(Once you've added your letter, you can change the color. I just kept mine in the default white.)
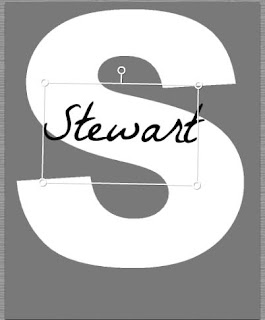
Step 5.
Now you re-size the letter to take up most of the space. To re-size, drag a corner or line of the box surrounding the letter.

Step 6.
Unselect the letter you just made. You'll know you've unselected the letter when the white box goes away. Go back to the text box on the left and type the letter of the last name you're doing. I think it goes without saying you'll want to pick a different color than that of your letter, but just in case... I also went with a different font but, that's up to you.

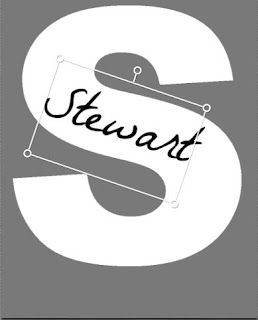
Step 7.
Using the circle sticking up at the top of the box surrounding the name, rotate the name to position you like. Depending on your letter and name an so forth and so on, there's a lot of room to play.

Step 8.
Unselect the last name. Go back over to the text box and type Est. and the year. I used a different font again in the same color of the name on the letter. Once again, all up to you. No matter what, you'll more than likely need to re-size it. Use the same steps as before to re-size it to fit your page.

And there you have it. Another digital print tutorial delivered to you by Merritt's Marvels.
Stay tuned for the third tutorial, I Love My State.
No comments:
Post a Comment